Google Imagen 4
Image model by Google, selectable in Vizera for image generation.
Vizera creates visualizations from your source material, changes marked areas and organizes variants in Boards. You decide what changes and which image you use.
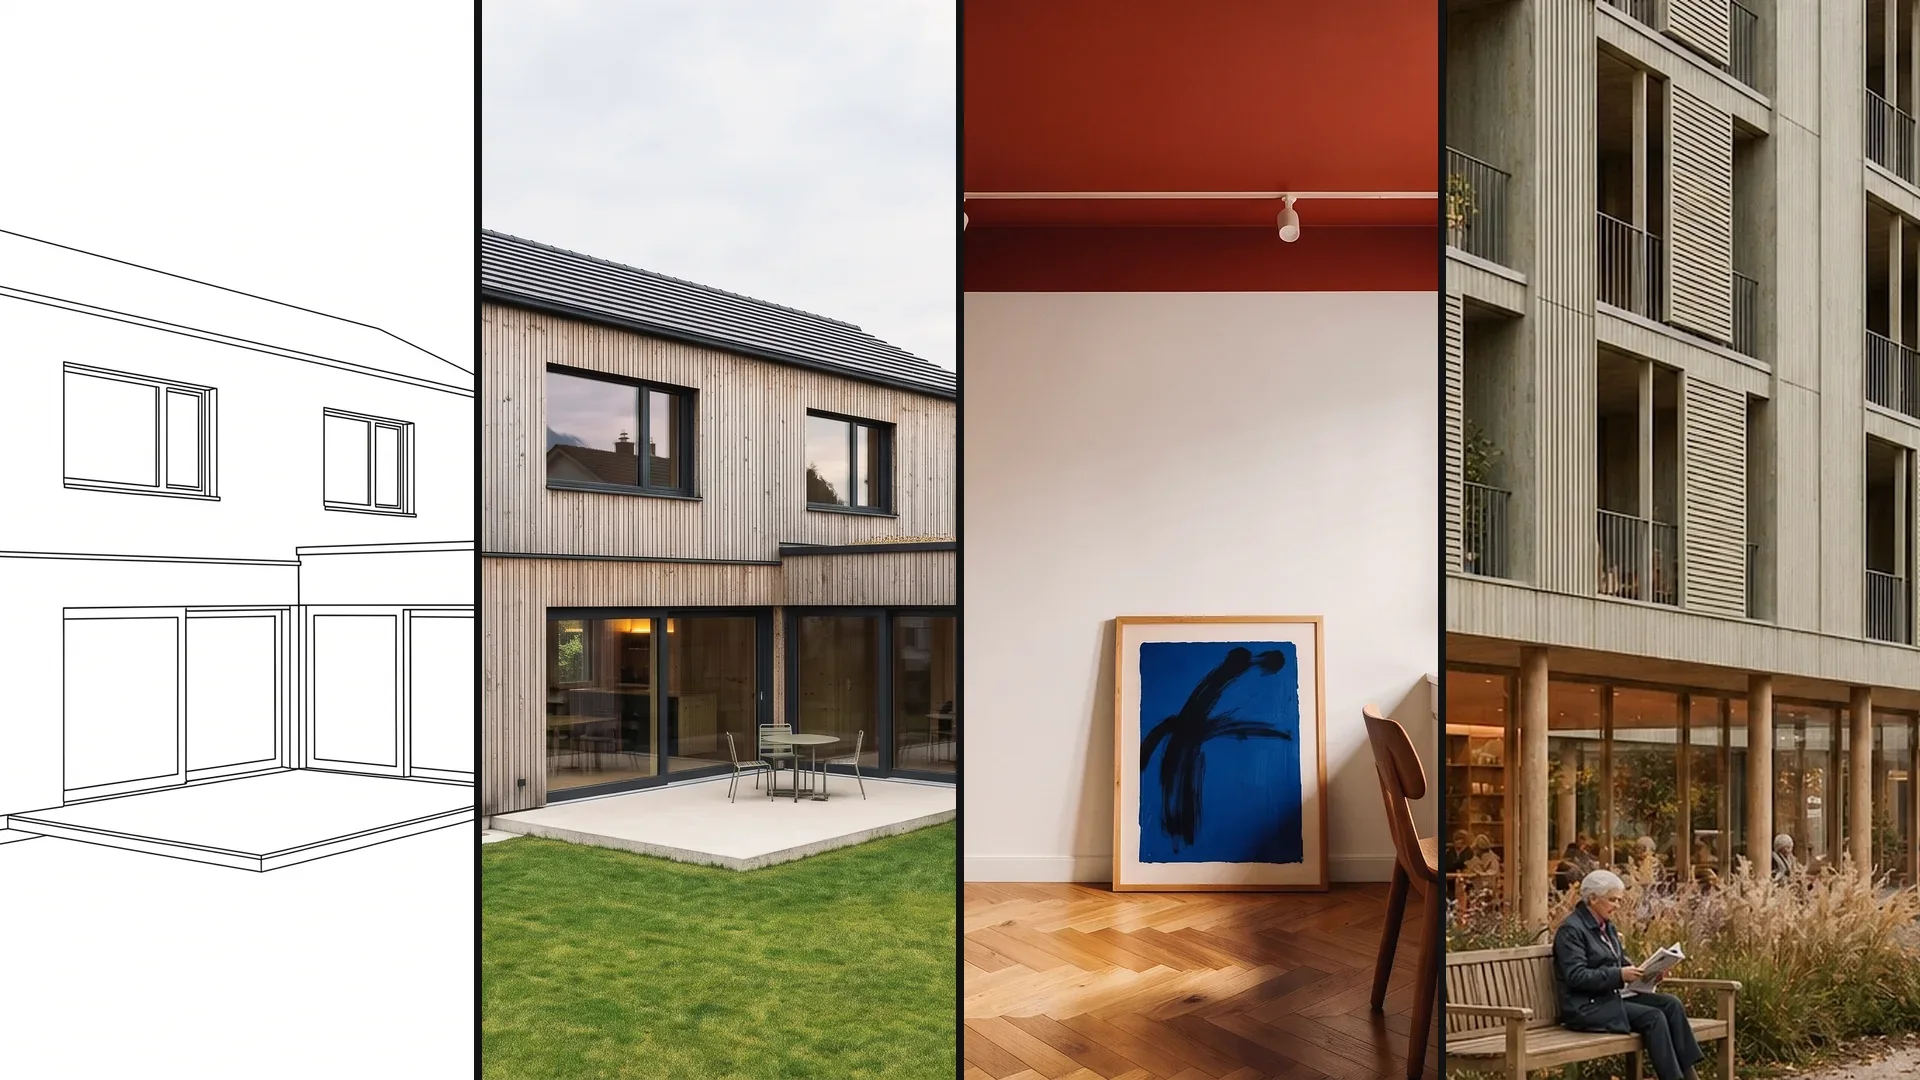
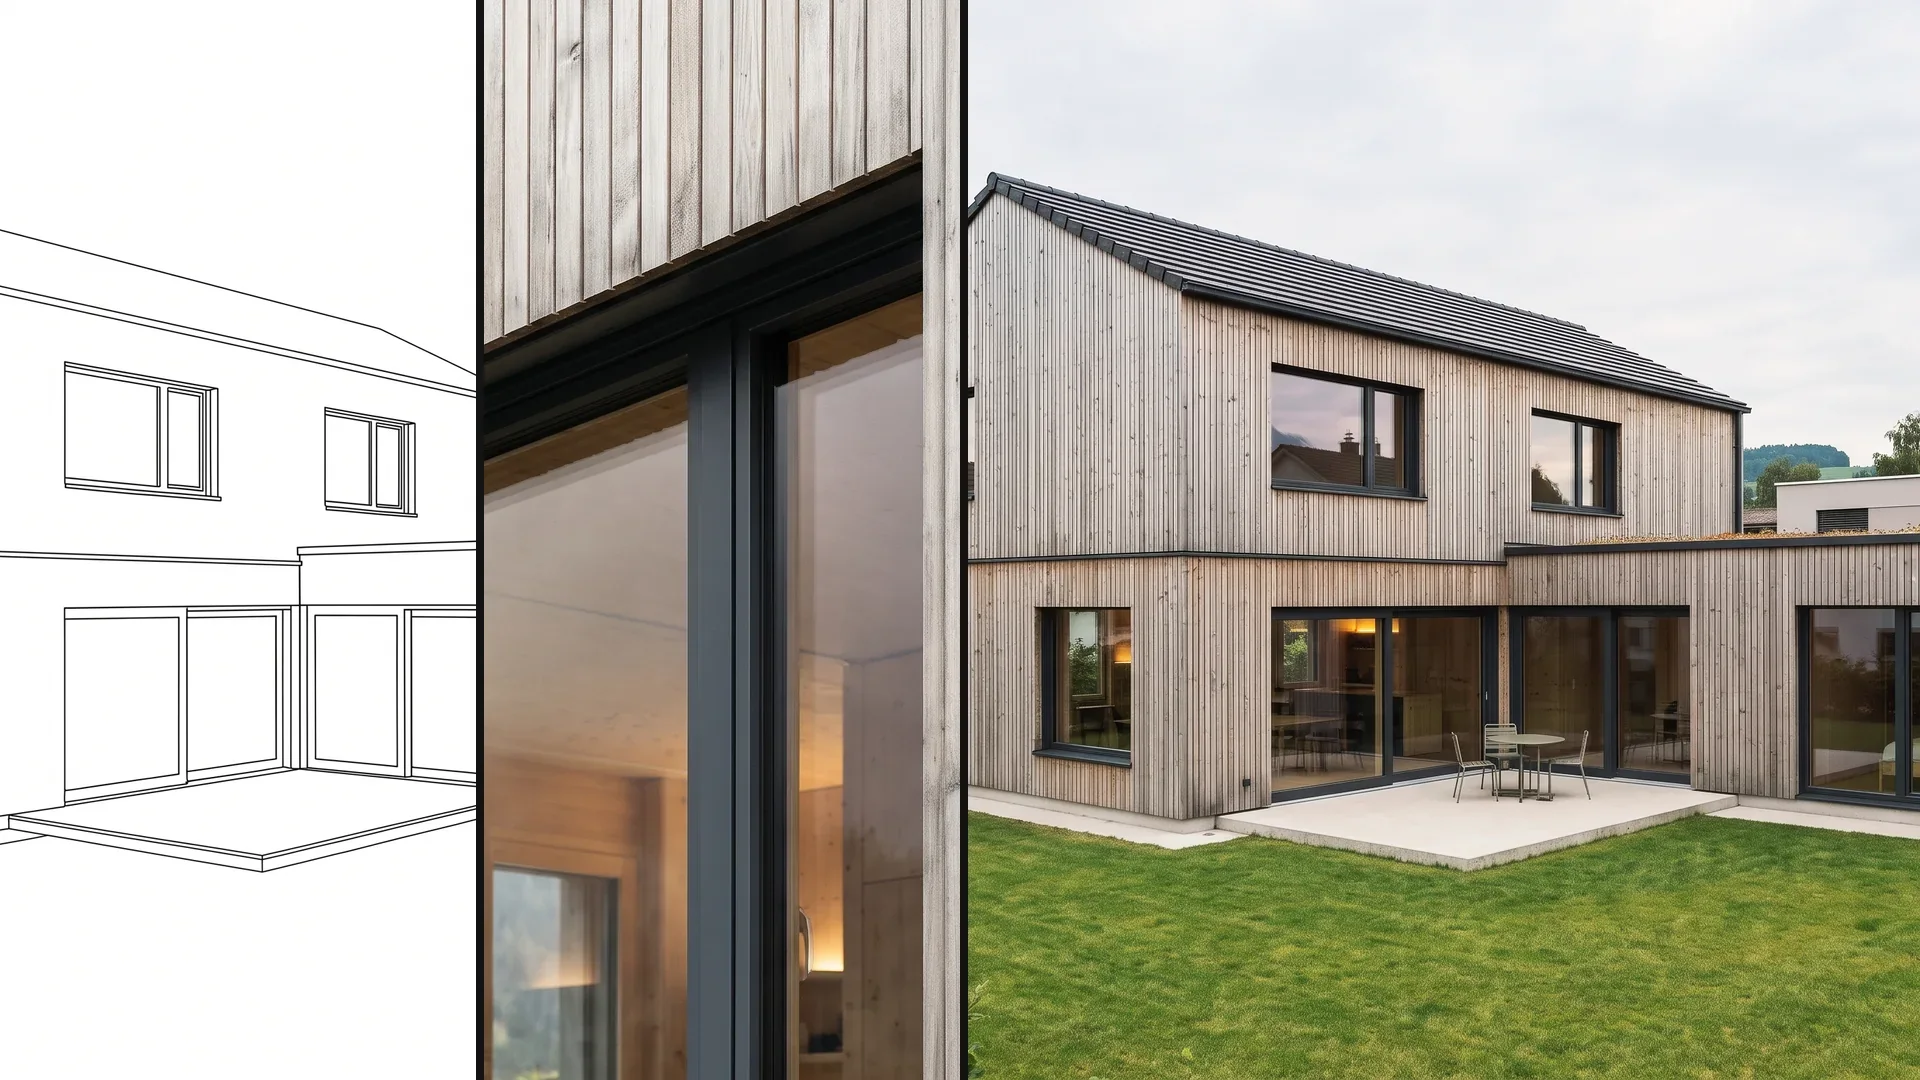
Sketch, 3D view, CAD export or photo: you upload an image, Vizera adds material, light and surroundings. Your source sets perspective and geometry.
01
Upload 3D models, photos, sketches and image exports – images as JPG or PNG, up to 5 MB. All further variants start from these.
02
Develop an image from a hand sketch – deliberately sketchy for early phases, photorealistic for the presentation.

03
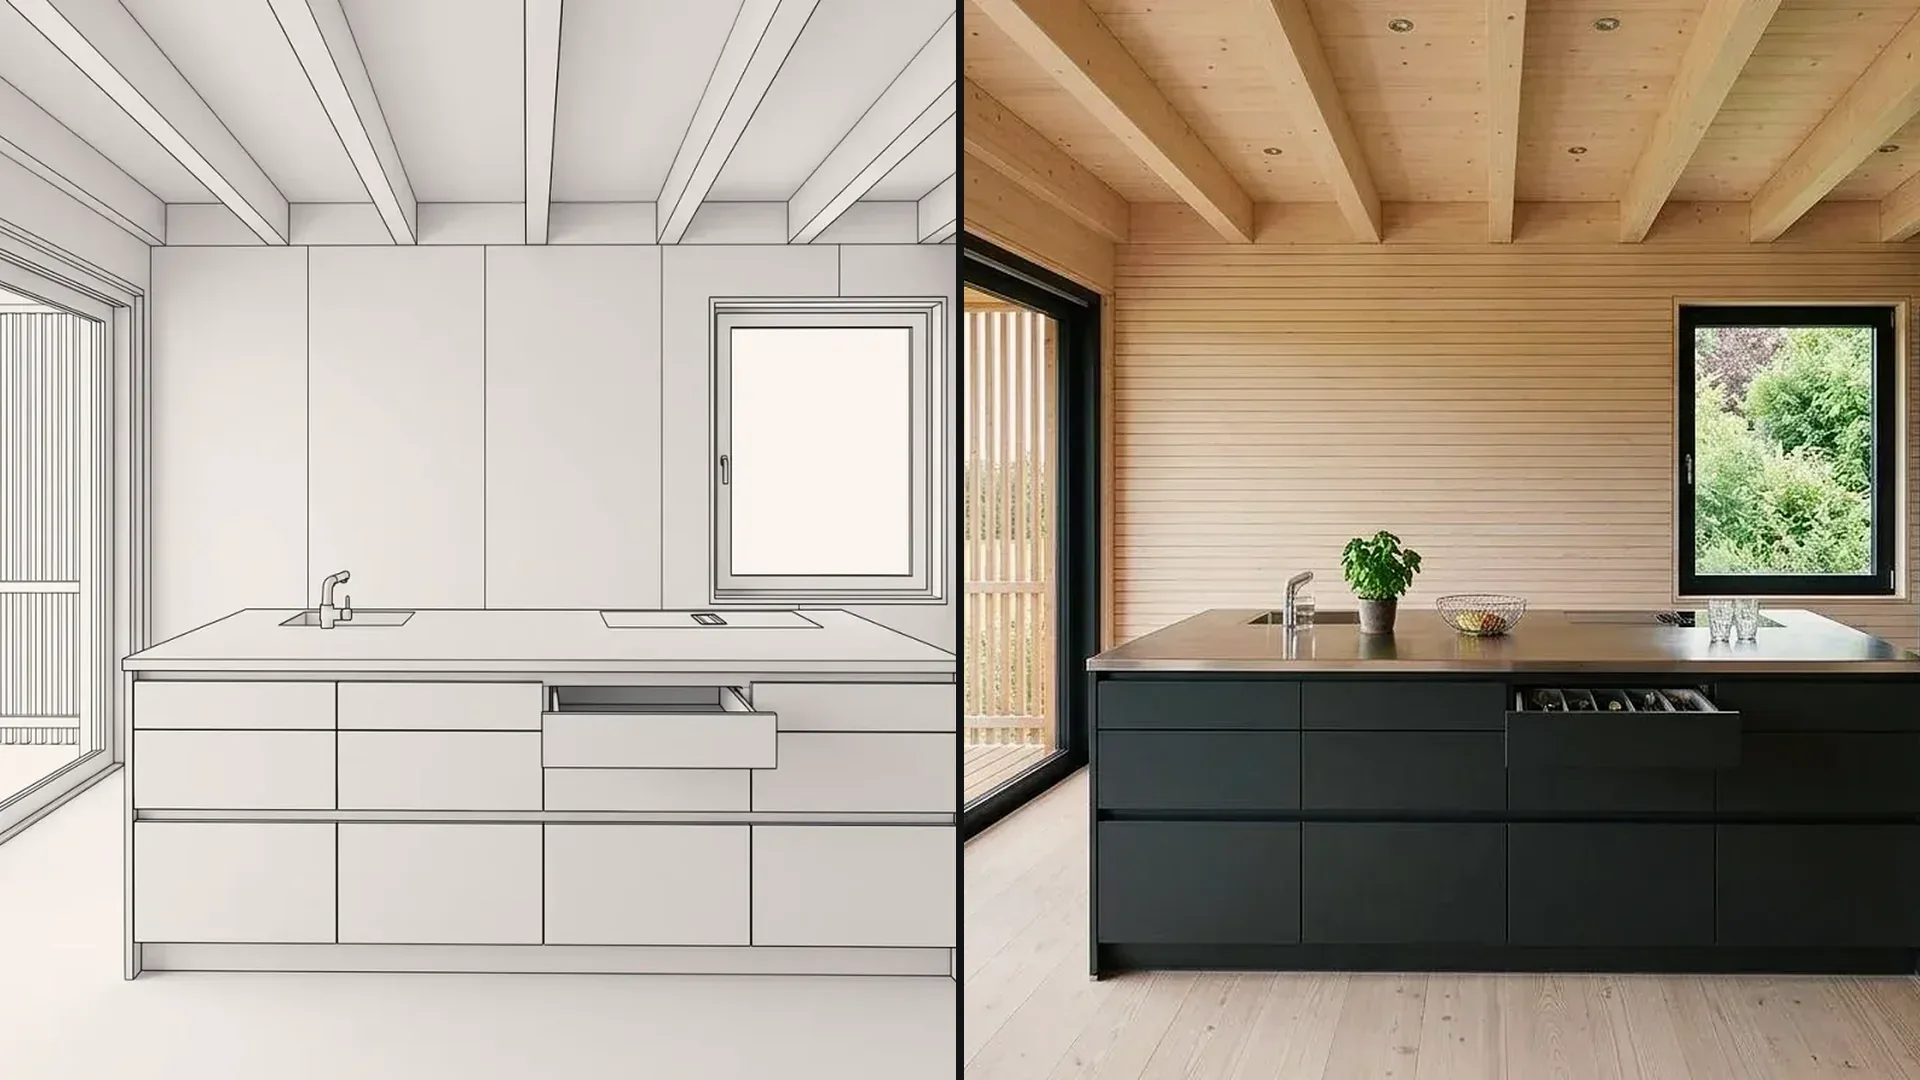
Upload a 3D model or send it from Archicad, pick the camera in the viewer – material, light and surroundings are added, the geometry stays.
04
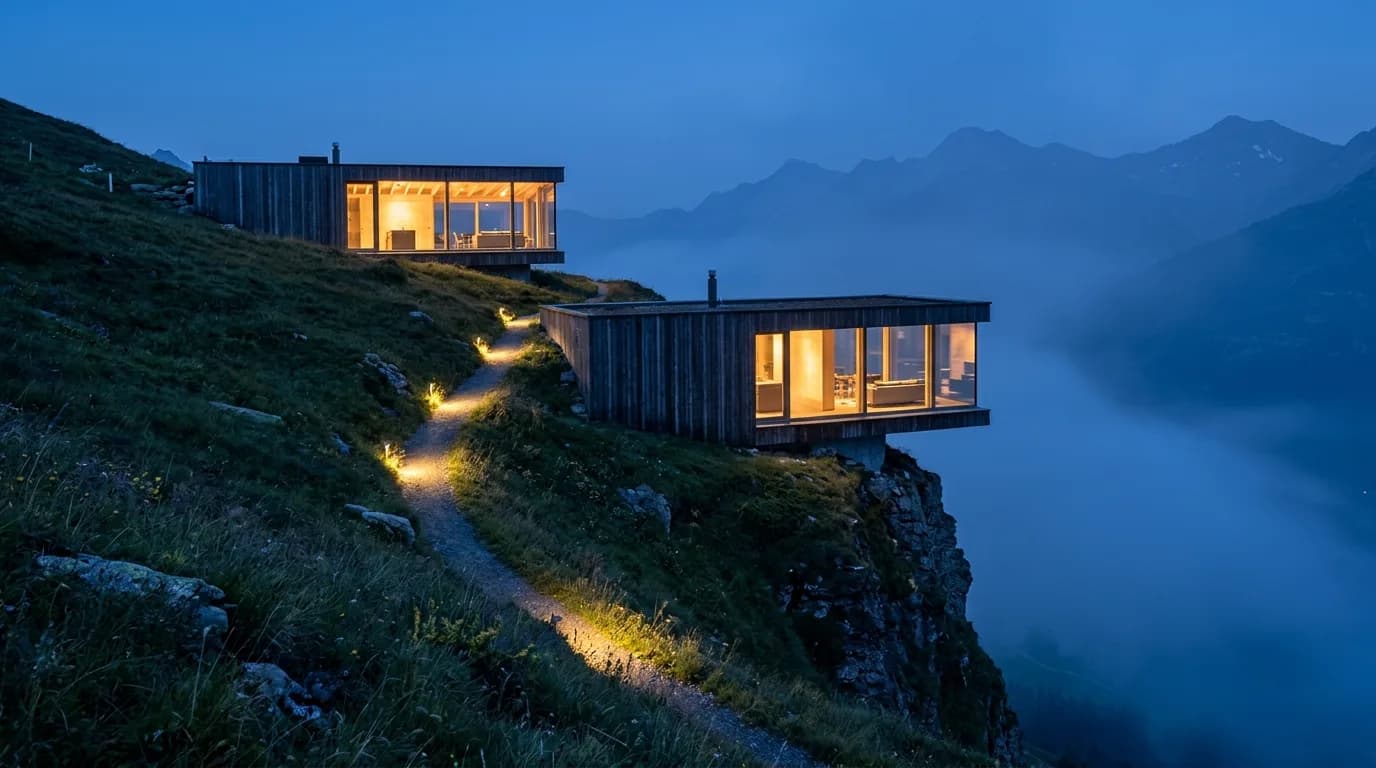
Export the CAD view as JPG or PNG and visualize it. Vizera does not process DWG, DXF or PDF.
05
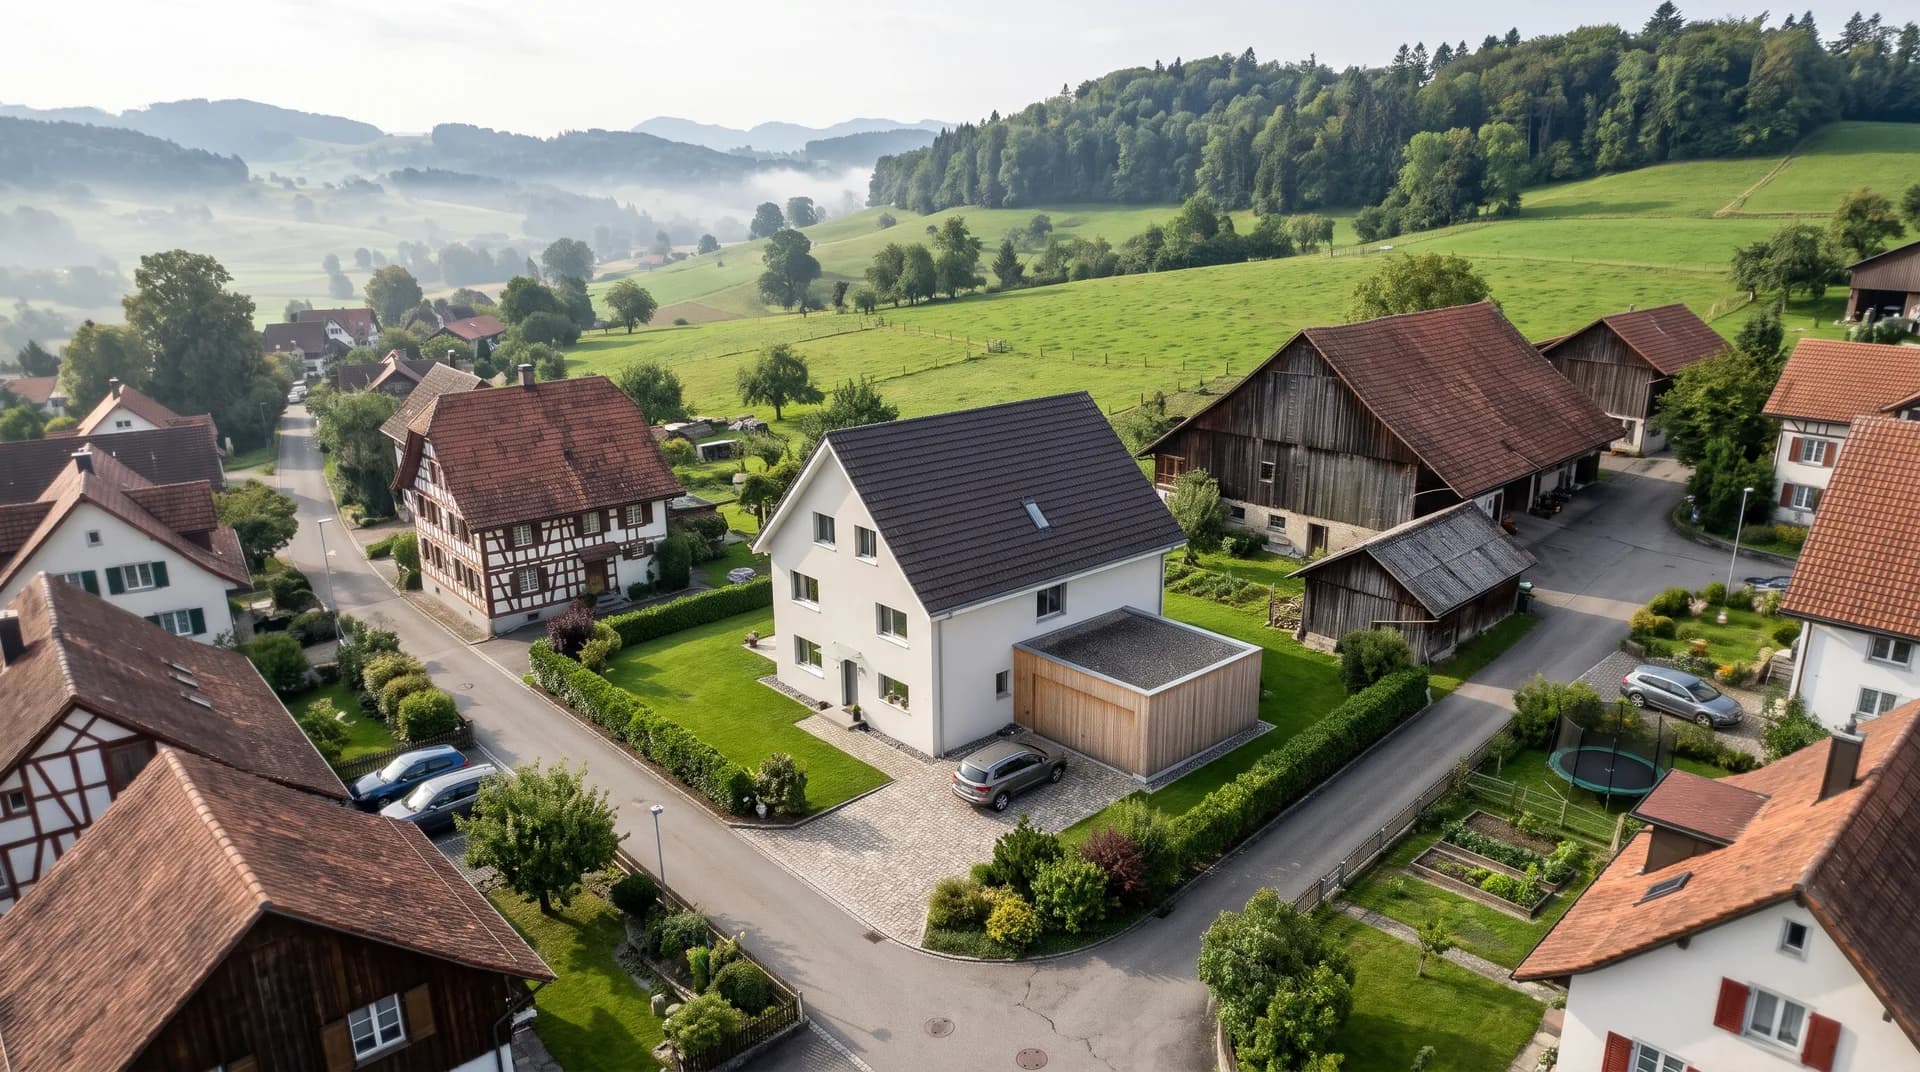
Use a photo of the existing building as the source image – for conversions, facades or furnishing in a real context.

06
Describe the image in plain language, the Prompt Agent writes the prompt. When "automatic" is off, it adds no details of its own.
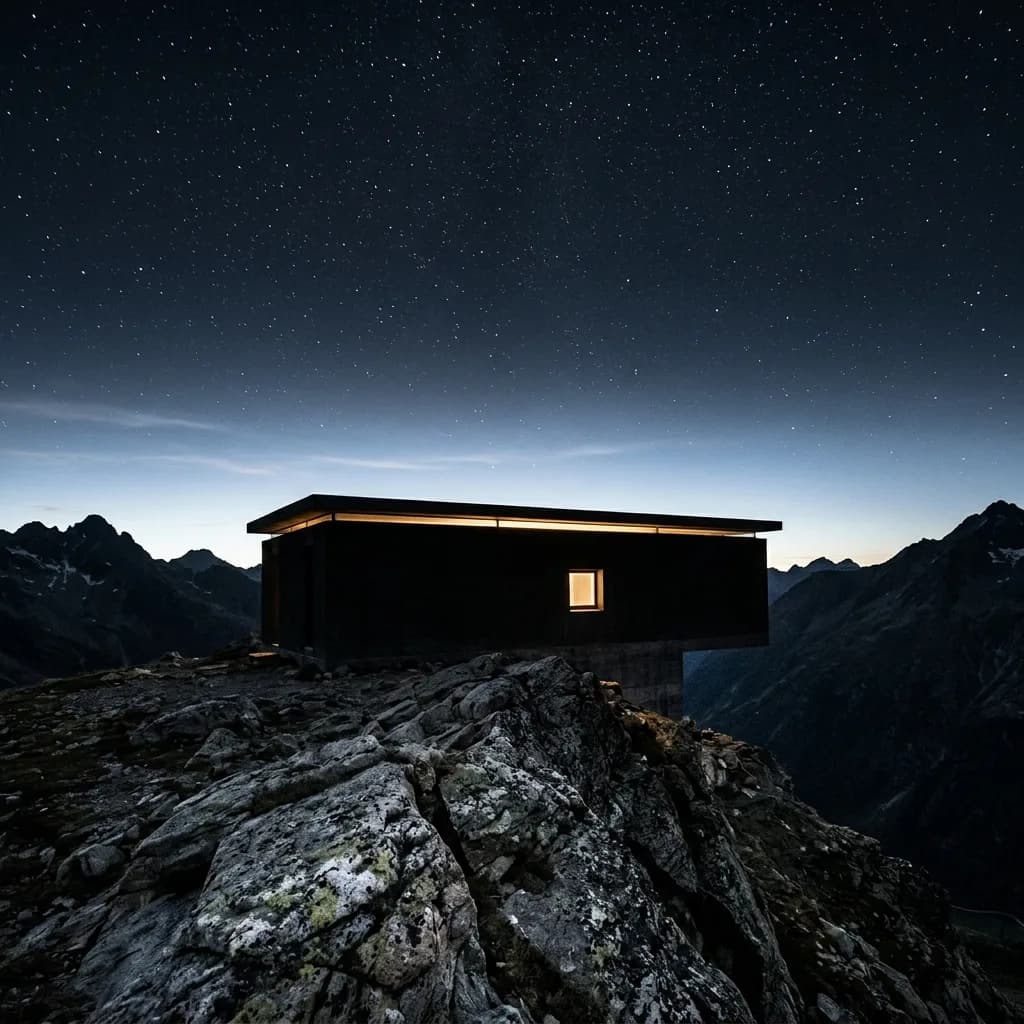
With masking, the marked area is recalculated, not the whole image. Outside the mask, the image may lose a little sharpness.
01
Mark an area and recalculate only that. Outside the mask, the image may lose a little sharpness.
02
Up to six reference images per generation, for example for material, furniture or light. The result interprets the reference.
03
Mark an armchair, lamp or flooring with masking – and swap it via description or reference image.

04
Mark and remove vehicles, cables or furniture – so the image shows the design, not chance.
05
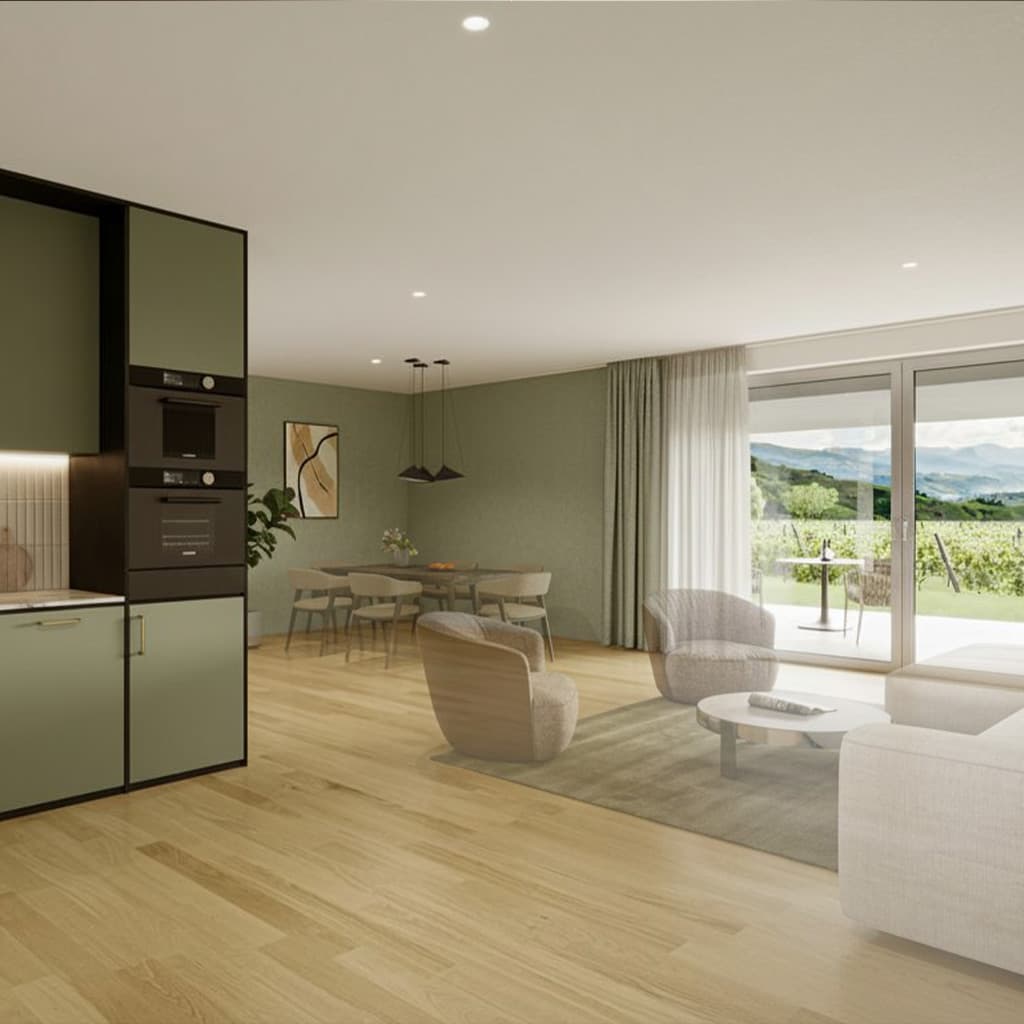
Extend the frame beyond its edge, for example for a different format. You check the added areas professionally.
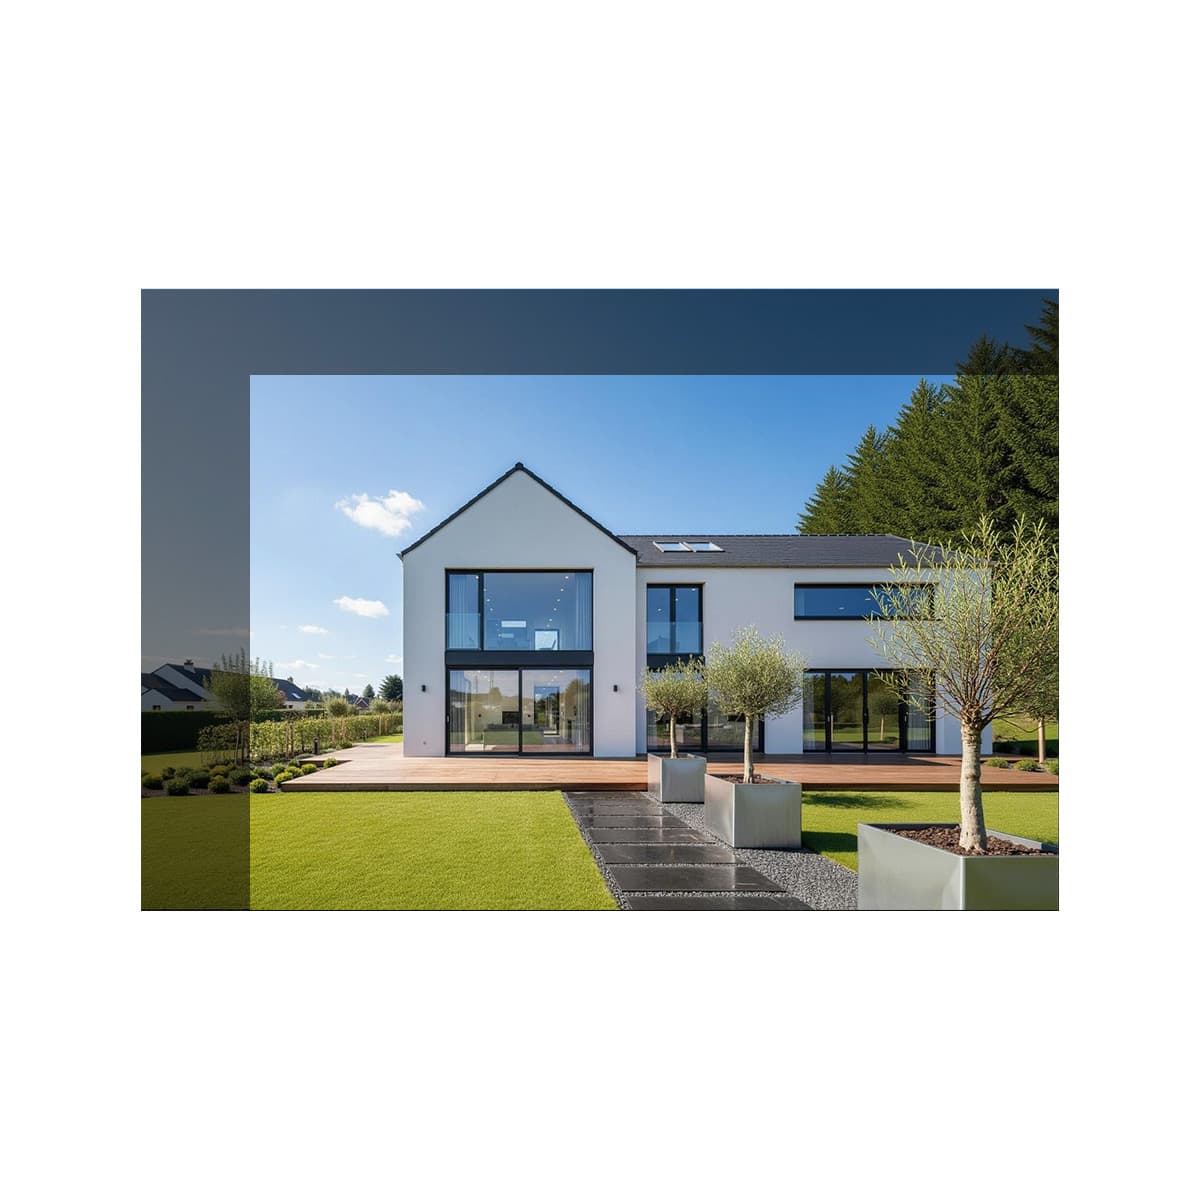
06
Transfer the look of a reference image to your project. Save refined prompts as templates for further images.
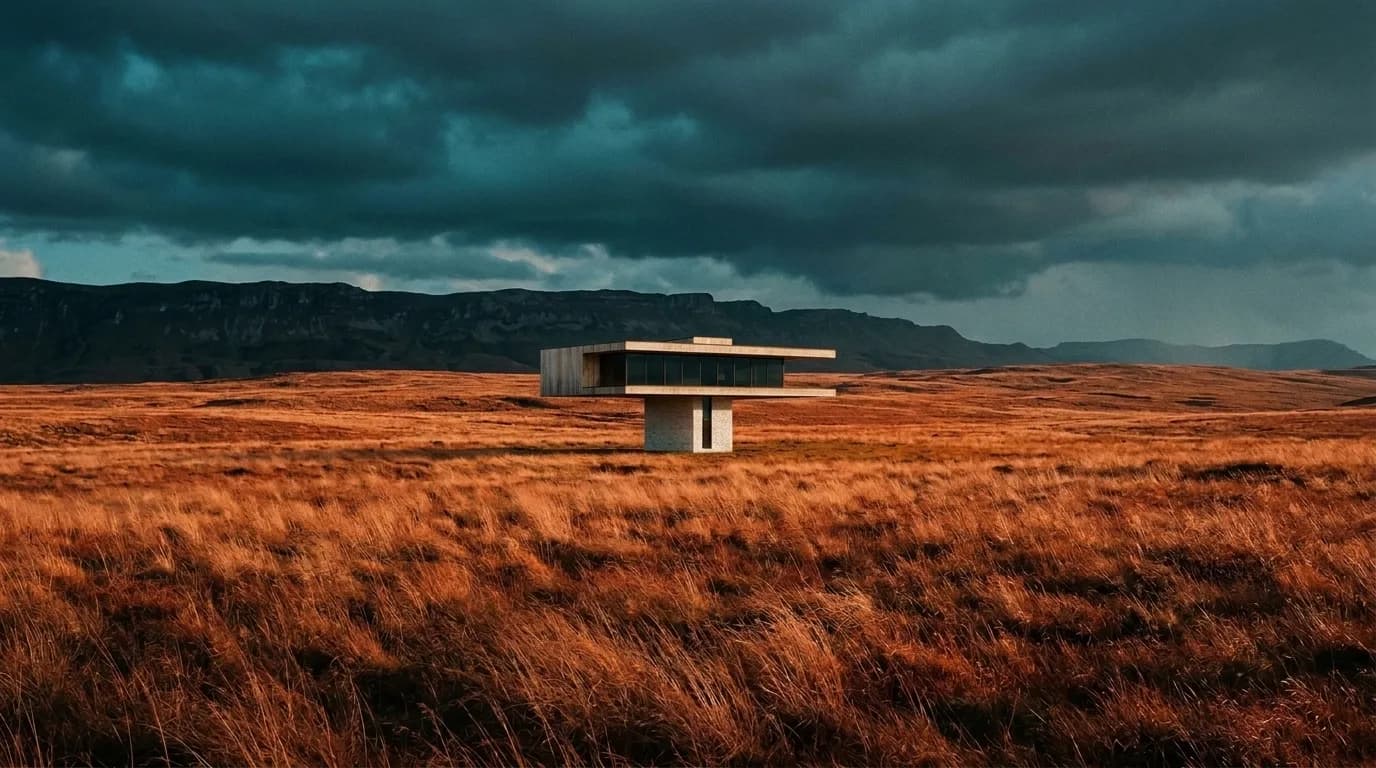
Compare material, color, light and season on the same source image. You decide which version goes into the meeting.
01
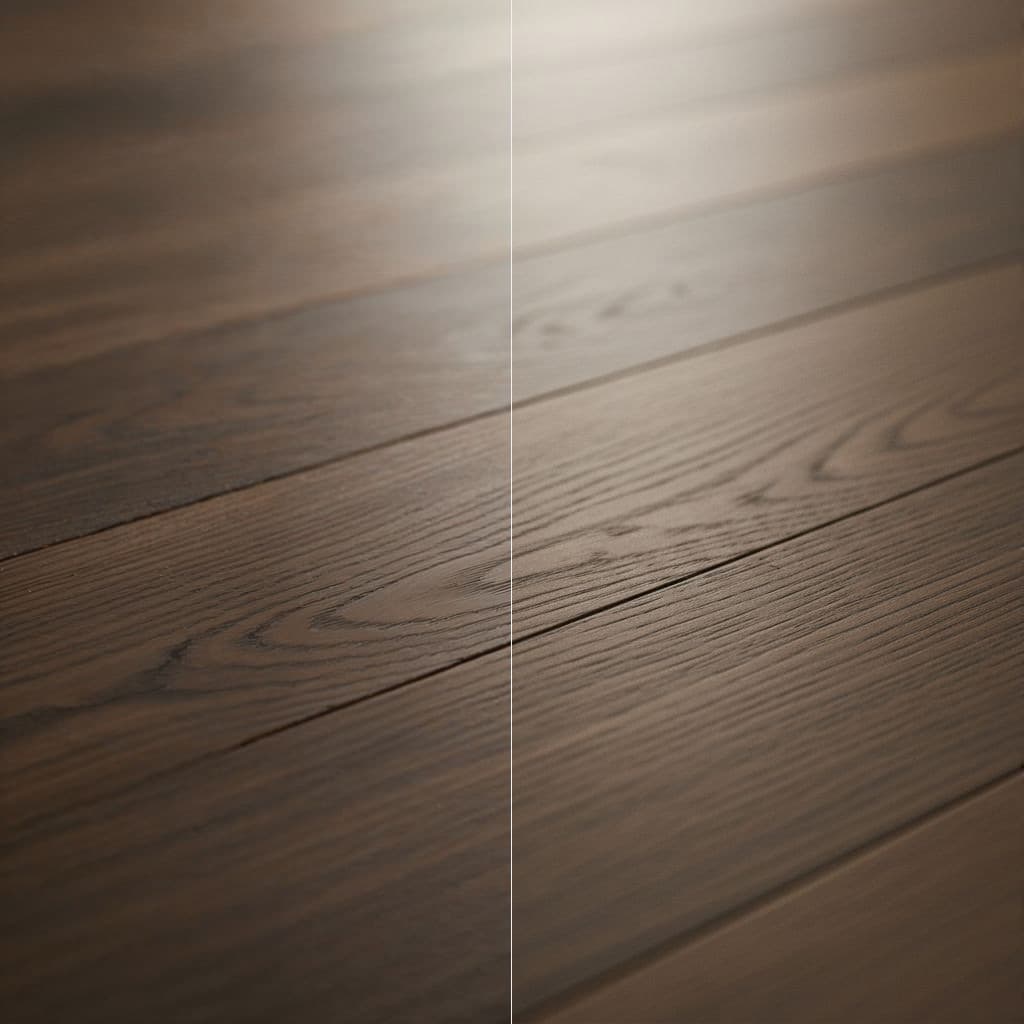
Compare wood, plaster or natural stone on the same image – you decide which surface changes and which material it gets.
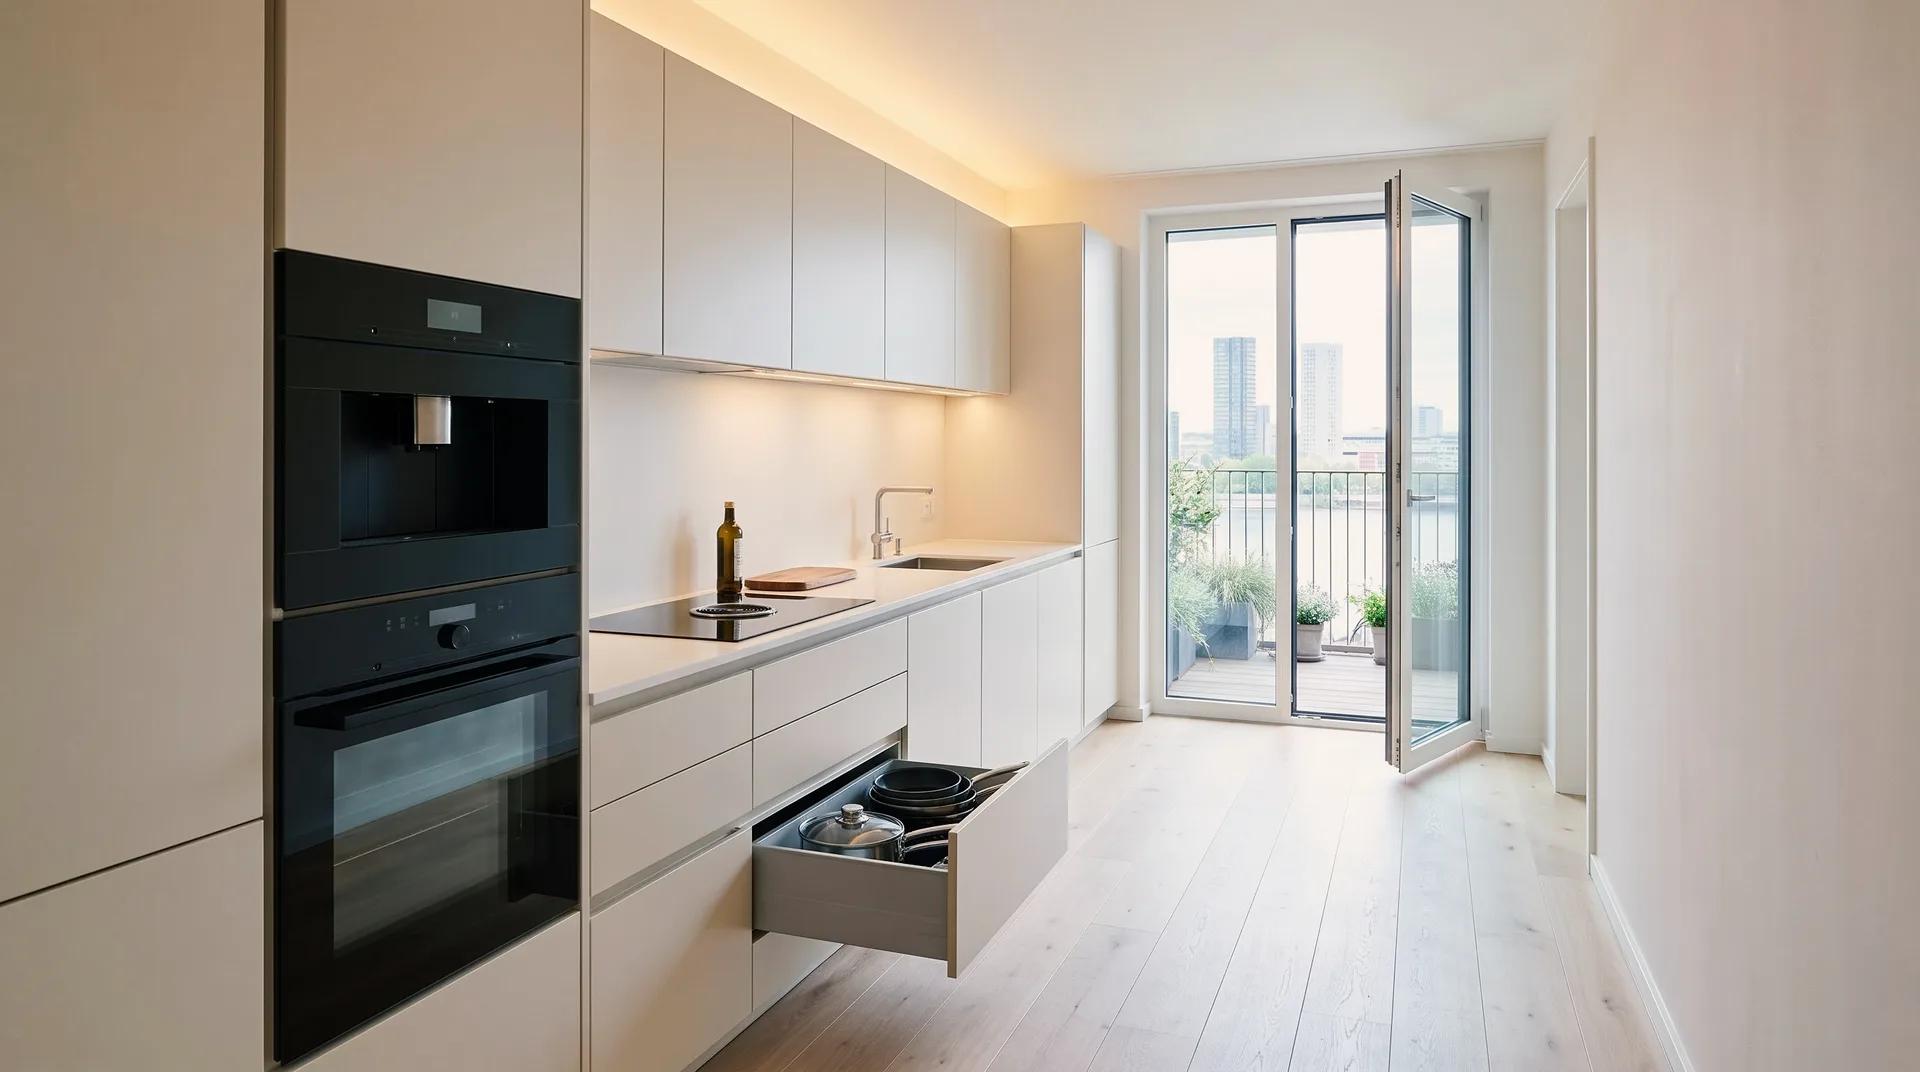
02
Compare color shades on the facade before sampling. You confirm the decision on the physical sample.
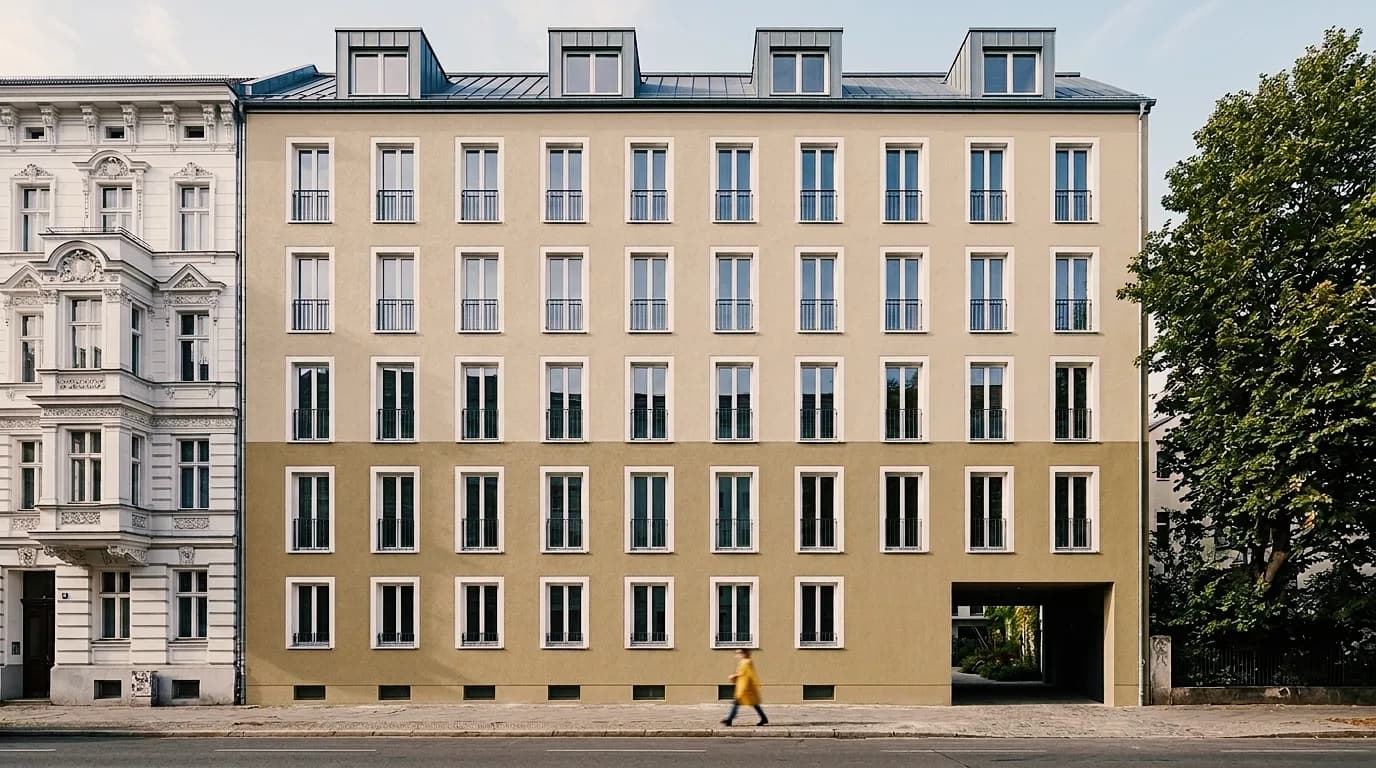
03
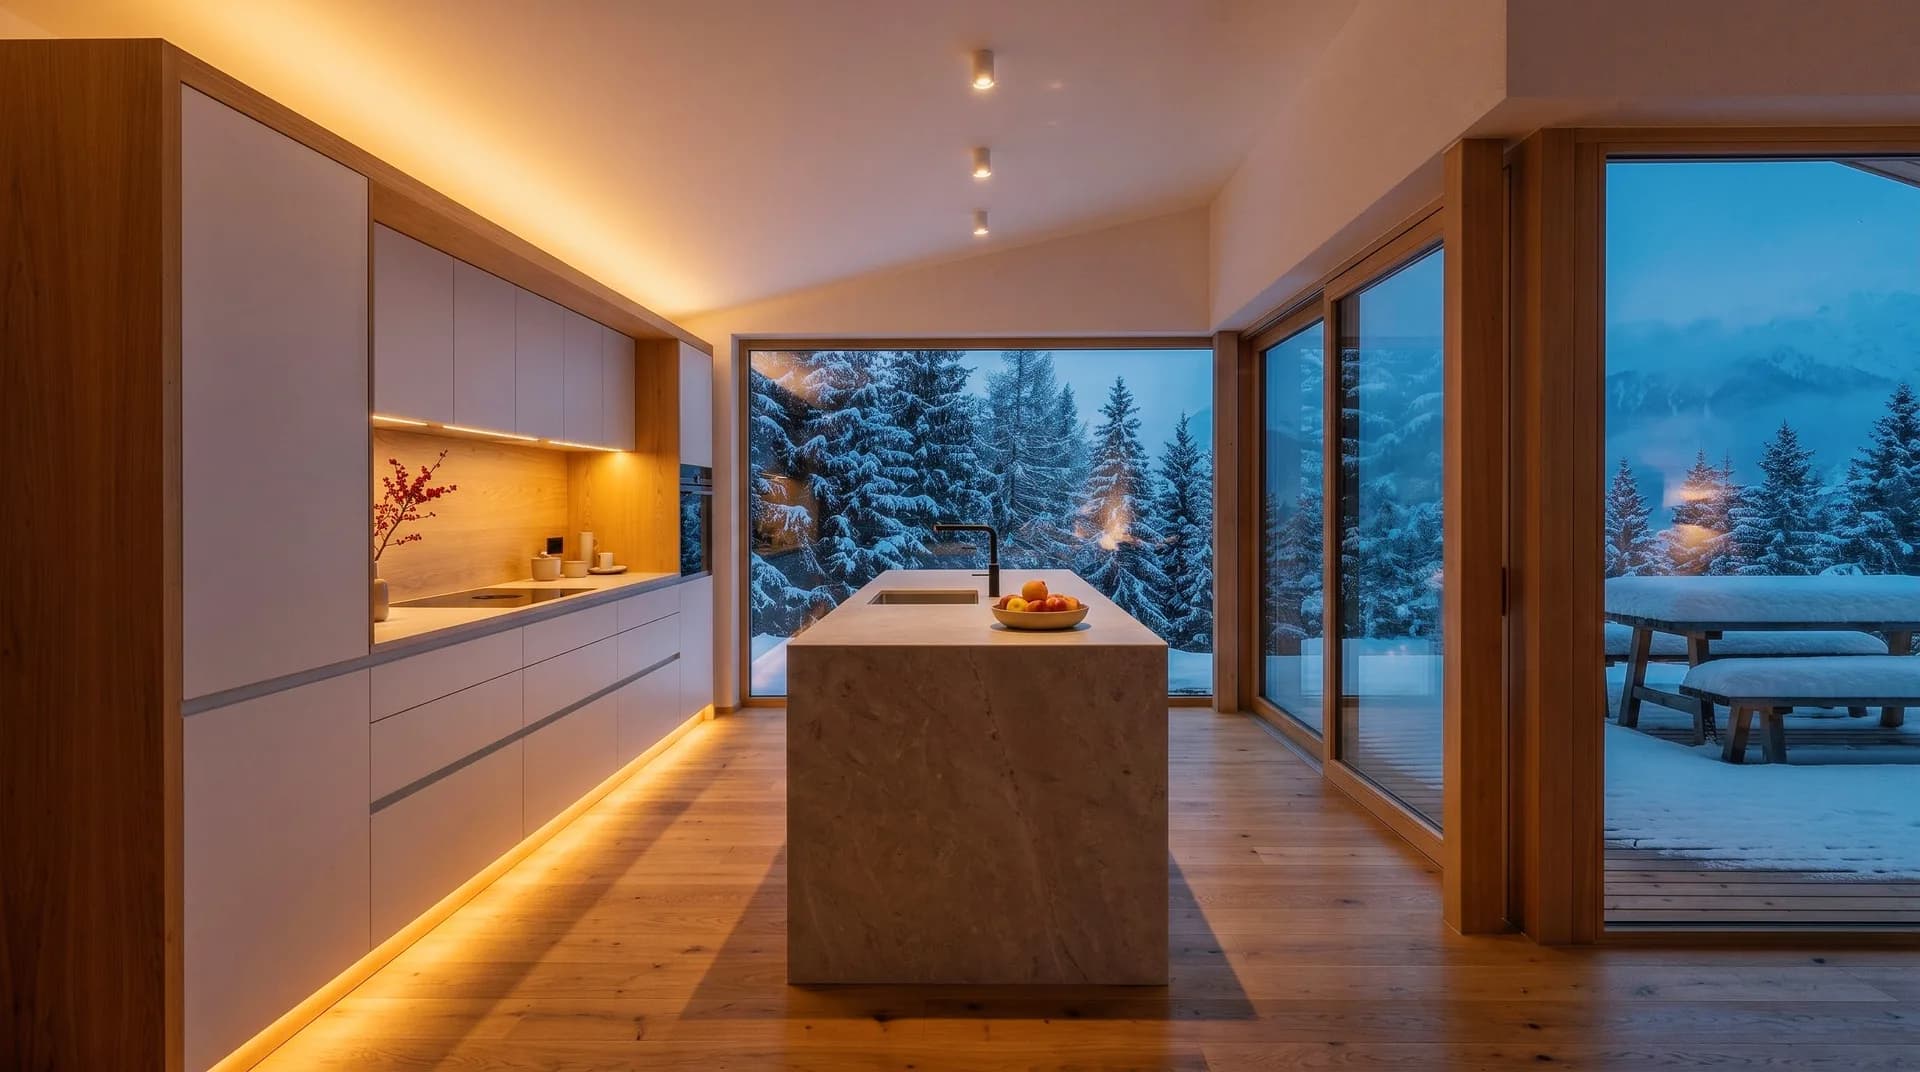
Show the same project by day, in the evening or at night – for the effect of daylight and lighting.
04
Show the same scene in summer or winter – for example for planting and outdoor space through the year.

Upscale images to your plan's resolution and download them as full-quality PNG. On request, a finished visualization becomes a short video.
01
Enlarge images for print and presentation. Pro: native 4K, 8K with upscaler. Basic: no native 4K, upscaling available.

02
Refine an image's sharpness and detail. If only one area is blurry, masking is usually more targeted.
03
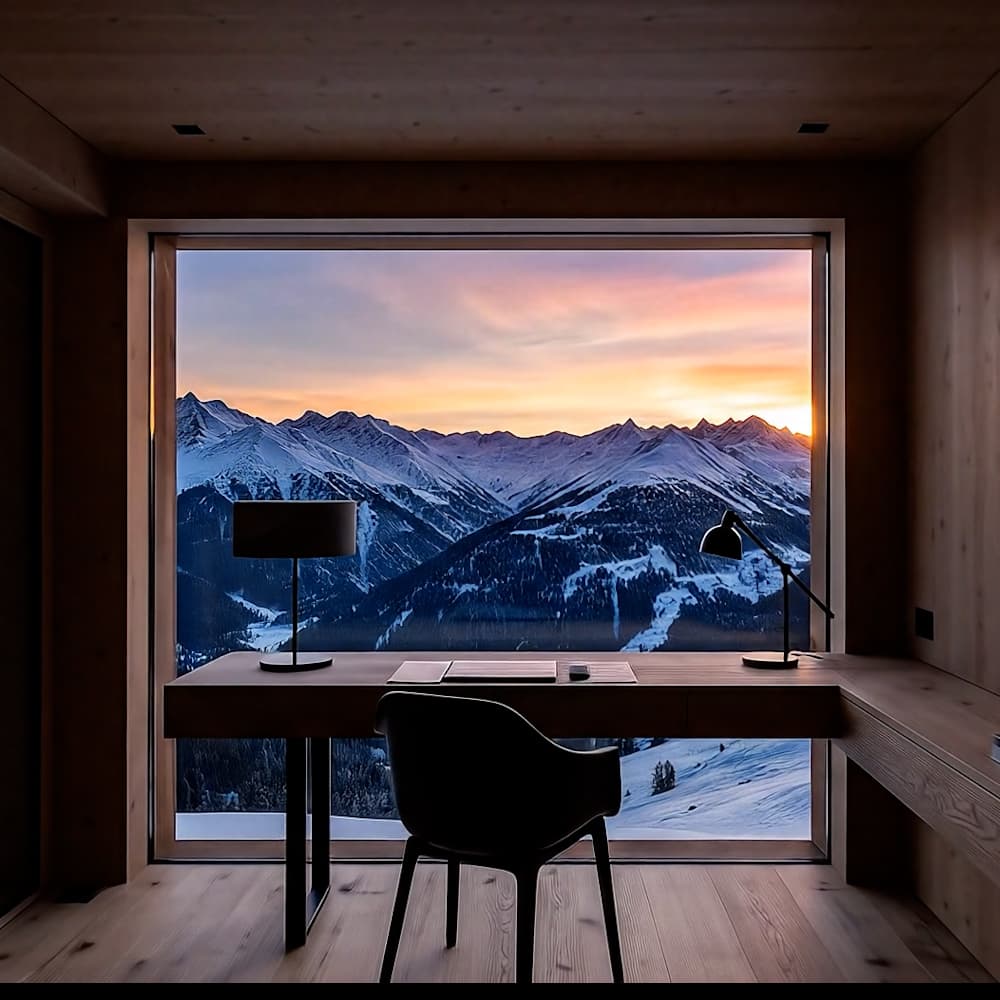
Create a short video from a finished visualization. A video takes 300 to 400 Credits.
In Boards, you place a project's images side by side. That way you compare variants instead of going through them one by one.
01
Collect and compare a project's variants side by side – for the decision in the next meeting.
02
Create several variants from one source image and compare them side by side in the Board.
Vizera offers several AI models for images and one model for videos. You pick the model in the app and compare results on your own project.
Image model by Google, selectable in Vizera for image generation.
Image model by Google, selectable in Vizera for image generation.
Pro version of Nano Banana, selectable in Vizera for image generation.
Image model, selectable in Vizera for image generation.
Image model, available in Vizera for image generation.
Video model by Google, in Vizera for videos from a finished visualization.
An image takes 5 to 25 Credits, depending on model and resolution; a video 300 to 400 Credits.
How the individual tools work and what firms and businesses use them for.
Features
Masking
Change only the marked area – a facade, a piece of furniture or a floor, for example.
Sketch to visualization
Develop a hand sketch into an image that makes the design easy to understand.
Material variants
Change material and color in your image – facade, front or floor.
Upscale
Upscale images for print and presentation.
Short videos on this topic: follow along step by step in your account.
Answers on getting started, file formats, models and limits.
With what you already have: upload your 3D model, a sketch, a photo or an image export to Vizera. Then describe in plain language what you want; the Prompt Agent helps with the wording. You decide which variant you keep using.
200 Credits free, once at sign-up. No credit card, no installation.
